Technique
How to Do a Russian Manicure: Step-by-Step Technique
A map of the professional sequence — from removal to top coat — and why every step exists to make the next one possible.
A professional Russian manicure follows a fixed sequence: remove the old product, shape the free edge, open the cuticle pocket, clean the pterygium and sinuses with an e-file, cut the cuticle, refine the cut, prep and dehydrate the plate, build architecture with base, then apply color and top. It’s performed completely dry, working only on dead tissue, with the e-file speed adjusted to the client’s skin at every step.
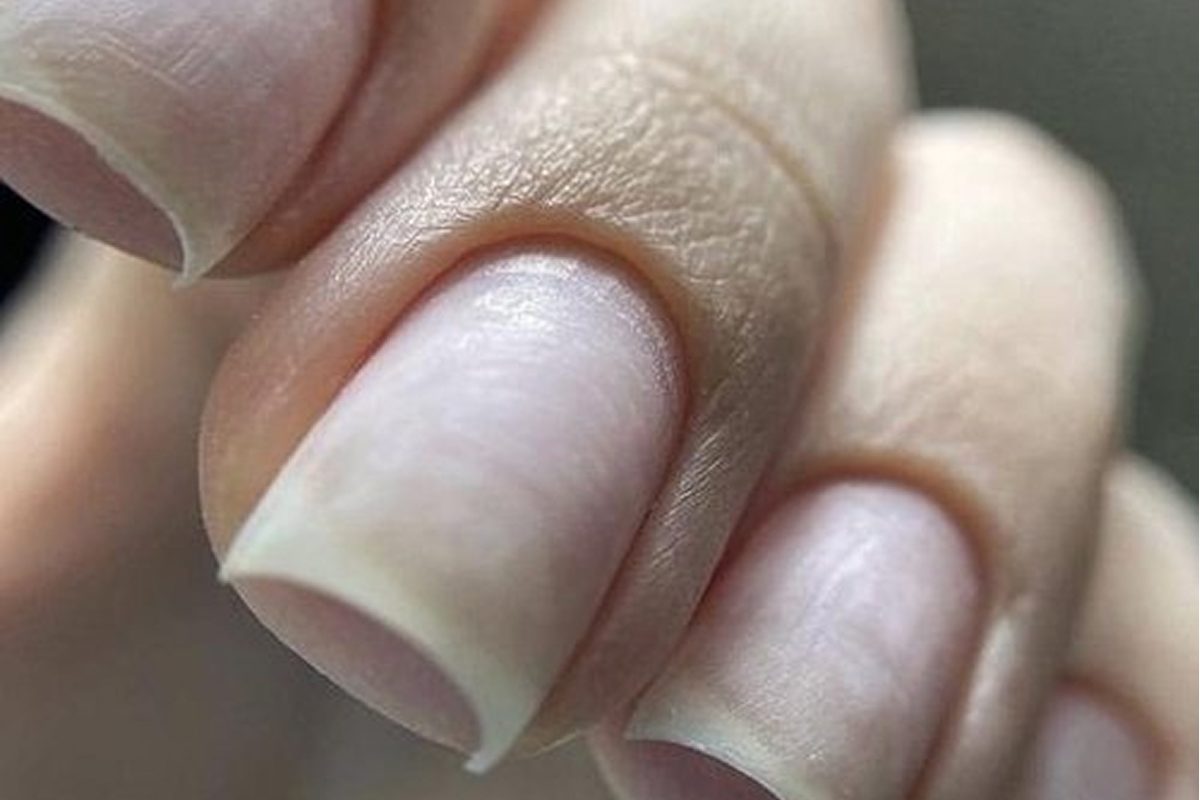
This is a professional overview of how a clean, dry (Russian) manicure is performed — the same sequence taught in our online Russian manicure course, the Advanced Clean Manicure System. It’s a map of the method, not a shortcut around training: the safety of every step depends on judgment built through structured learning and practice on models. Read it to understand the workflow and why the order is non-negotiable; if you are new to the method, start with what a Russian manicure is.
Before you touch the e-file
Two things come first, always. Assess the hands: inspect the client’s nails and skin, and if you see infection, fungal signs, open cuts, onycholysis or any visible abnormality, you refuse the service — a deviation from healthy nails and skin is grounds not to proceed. Set up for sanitation: antiseptic on both your hands and the client’s before gloves, a properly organized station, correct lighting, and sterilized or single-use tools ready. State rules set the minimum: Connecticut’s DPH, for example, spells out how every tool must be cleaned and disinfected before use and which items are single-use.
Russian manicure technique: the professional sequence
- Remove old coating. Using a carbide bit at roughly 20,000–35,000 RPM, take the bulk of the old gel down in smooth passes, leaving about 10% of material rather than filing to the bare plate. Hold the handpiece like a pen and keep the bit moving.
- Shape the free edge. With the file perpendicular to the nail, set the length and shape (square, oval or almond), keeping the side parallels correct and never over-filing the ingrown points, which causes “steps” and can lead to onycholysis.
- Open the proximal fold pocket. With an orange stick — or the cheek of a bit at around 5,000 RPM — gently separate the cuticle from the nail plate and lift adhesions. This step is the foundation: if the pocket isn’t opened, the flame bit can’t reach depth and you can tear the eponychium.
- Remove pterygium and clean the sinuses. With a fine flame bit at a speed matched to the skin (roughly 15,000–20,000 RPM on normal skin, lower on moist skin), remove the pterygium from the plate and clean the lateral and proximal sinuses, using the cheek and belly of the bit at controlled angles and light pressure.
- Cut the cuticle. With nippers or scissors — or a ball bit — remove the lifted dead cuticle in roughly a dozen small cuts, the lower blade gliding along the plate, the blade parallel to the cuticle line, each cut following the border of dry skin. Never pull the cuticle or cut into living tissue.
- Refine the cut. Using the cheek and belly of a bit at about 5,000–15,000 RPM, polish the cut line, lift the proximal fold slightly and remove any fine fraying, so the result stays clean as it grows.
- Prep the nail plate. Cleanse and degrease, dehydrate to remove surface moisture and open the dorsal layer, and apply primer where needed — keeping it off the skin. A silicone polisher must never touch the plate at this stage, or you’ll kill adhesion.
- Base and architecture. Apply the base in thin layers, building the apex over the stress zone to distribute load, checking light reflections, and curing fully. On flat or difficult nails, level in two layers to avoid heat.
- Apply color. Using the fan, pushing or thin-brush technique, apply color in thin layers — flush to or just under the cuticle depending on the pocket — curing between coats. Thin layers cure properly and avoid shrinkage.
- Top and finish. Seal with a top coat, cure for the full time (at least 30 seconds for most tops), and remove the sticky layer with the correct product. Finish with cuticle oil.
Why the order can’t be rearranged
Each step exists to make the next one possible. A pocket that isn’t properly opened means the bit can’t reach the pterygium, which means you can’t see clearly what to cut — hello, cuts and injuries. Skip clean prep and the best cuticle work in the world still lifts in a week. The sequence isn’t ritual; it’s cause and effect. It’s also why a Russian manicure outlasts a regular manicure: the prep, not the polish, decides how long it lasts.
The safety spine running through every step
Four rules hold the whole method together, from first pass to final cure:
- Dead tissue only. You remove dead pterygium and cuticle, never the living eponychium.
- Speed to the skin. RPM is adjusted to skin type and task; higher speed means less control and more heat, not better results (manufacturer guides put cuticle work as low as 6,000–8,000 RPM).
- Heat is a stop sign. Any burning means clean or change the bit, ease pressure, and slow down — not push through.
- Sterile tools. Reusable bits and instruments go through the full processing chain, in line with the CDC’s advice to sterilize shared tools in salons; files and buffers are single-use.
For the tools behind steps 1–7, see e-file bits, grits and safe RPM; for why this method is safe when it’s done right, see is a Russian manicure safe.
A map, not a substitute
Reading the sequence tells you what happens; it can’t give you the judgment to read a client’s skin, control an e-file against living tissue, or recover when something doesn’t go to plan. That comes from structured training and hours on models — which is exactly what the Advanced Clean Manicure System is built to provide, module by module. If you are still comparing programs, here is how to choose an online Russian manicure course.